
“Cod” can mean a piece of fish on its own, or a meal that includes chips. If staff have to guess which entry includes the chips, the menu needs more work. Start with that distinction, then work through fish species, portion sizes, sides and the prices used for each service.
This guide expands the menu questions on the fish and chips shop EPOS page. It gives you a setup worksheet and a proposed demo order, rather than claiming that a particular shop’s menu has been configured or tested.
1. Separate the fish from the meal
Write down what a customer receives with each entry before creating it in the POS. A useful starting worksheet looks like this:
| Till entry | What it includes | Check before service |
|---|---|---|
| Regular cod, fish only | One regular cod portion; chips and sides are separate. | The name and price should not suggest a meal. |
| Regular cod and chips | One regular cod portion and the stated chips portion. | Do not add another charge for chips already included. |
| Large haddock and chips | One large haddock portion and the stated chips portion. | The larger fish needs the correct selling price and recipe. |
| Chips on their own | The selected chips portion, with no fish. | Make the portion choice and its price clear. |
| Mushy peas or curry sauce | The specified side pot. | State whether it is included in the selected meal or charged separately. |
These are possible entries, not a claim about a ready-made POSMENTOR catalogue. Choose the product and option structure that fits your actual menu. A separate product can be clearer when the meal has a different recipe or price; configured choices can work when they have a well-defined effect on that product.
2. Give each choice a clear job
Cod versus haddock, fish size and a side pot are different decisions. Avoid one long list that mixes all three. POSMENTOR supports configured product choices and optional extras; their selected prices contribute to the order price. Review which choices are available and required in the actual configuration.
- Fish: use the species the shop actually sells. If a substitute is offered, staff still need to confirm it with the customer.
- Portion: make regular and large mean something consistent in the shop. A menu label does not weigh the fillet.
- Chips: distinguish an included serving, an upgrade and a separate portion. Check the resulting price for each.
- Sides: an included choice of mushy peas or curry sauce should not silently become a paid extra, or the reverse.
- Preparation: use a note for an instruction, such as a side in a separate pot. A note should not replace a priced item or a required choice.
Try both the ordinary choice and the awkward one during the demo: no side, two sides, or a request for a larger chips portion. Check what the configured menu permits and what it charges. Follow the shop’s normal ingredient and allergen checks; an order note does not establish that food is safe for an allergy.
3. Review the price for each way you sell
Eat-in, takeaway and delivery can have separate saved prices. Check the fish-only item, the meal and any selected extras in the service type you are actually using. A counter collection price should not be inferred from a delivery menu.
For a meal with chips included, compare the final order line with the price on your menu. Add the included chips choice, then a chargeable side, and verify that each changes the total as intended. Do not assume an option is free because its price has not been checked.
If you use marketplaces or your own ordering website, review their menu mappings separately. A correctly priced POS product does not by itself prove that every external menu has been updated. See product options and ordering and the broader takeaway POS workflow.
4. Check two different meals on one order
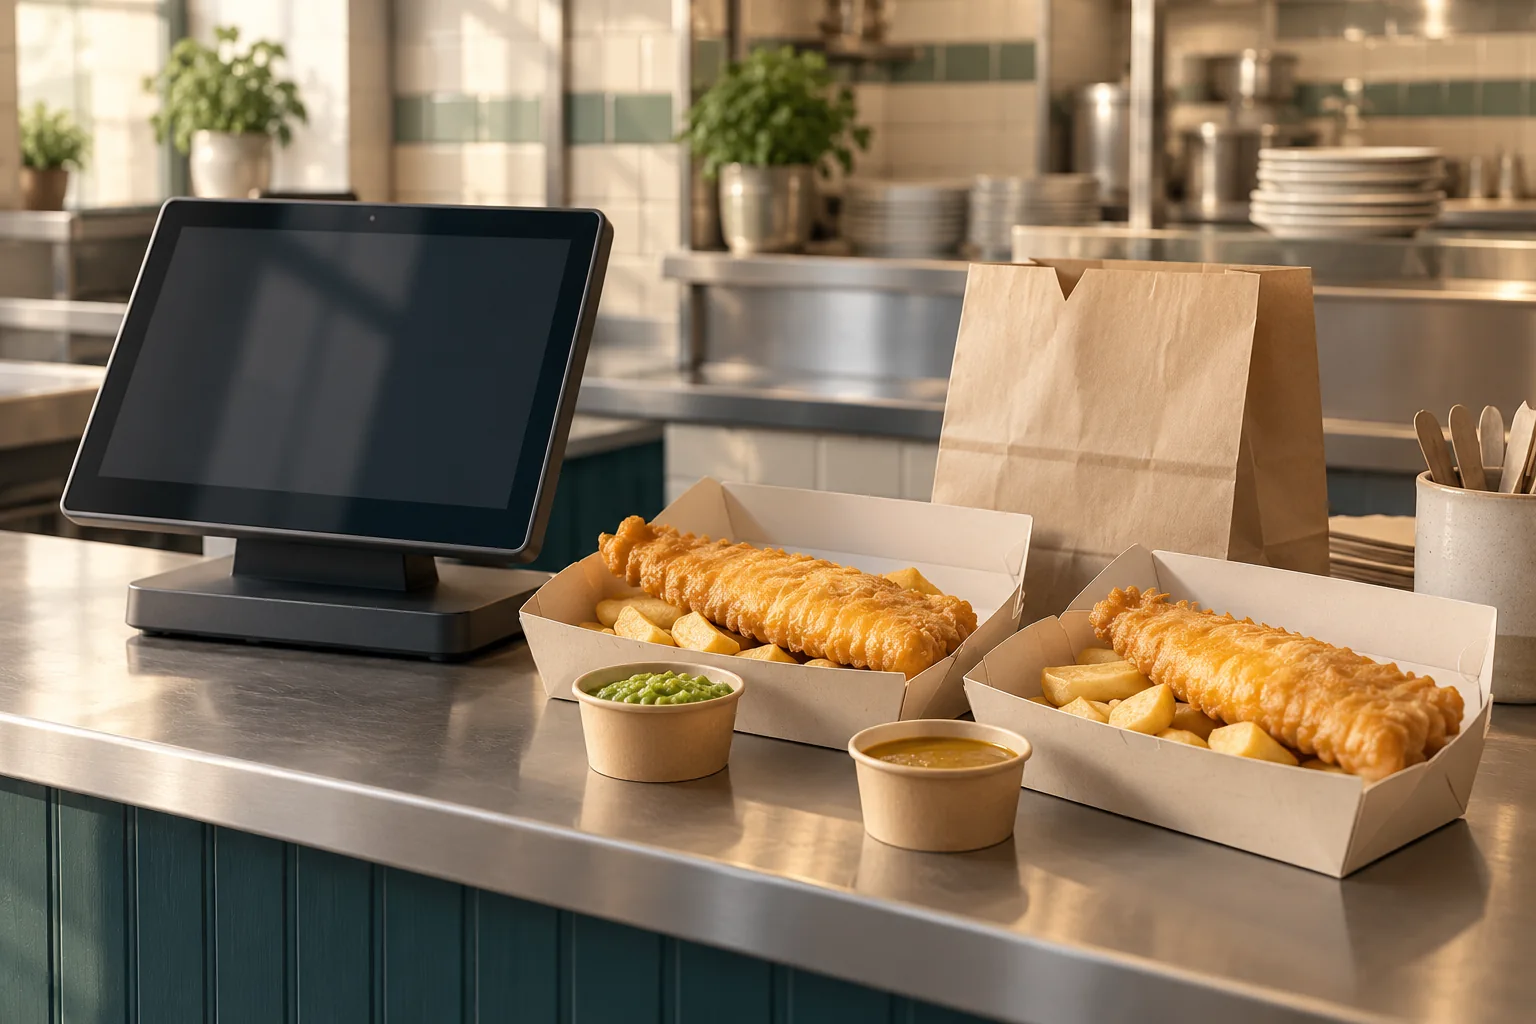
Keep the differently configured meals on separate lines. At the till, check the two fish species, sizes, included chips, sides and drinks against the customer’s request. Then compare the saved line prices and total with the selected service prices.
In the kitchen, check that each meal’s selected choices and preparation notes are readable. Staff decide preparation and mark the order ready; this guide does not assume automatic fryer routing or cooking schedules. At the pass, identify which side belongs with which fish before packing.
At collection, use the order or marketplace reference to identify the complete order, check payment status and count the meals, sides and drinks. Separating the bags is a staff task. There is no automatic bag assignment or guarantee that the right food has been packed.
5. Agree how packing instructions reach the counter
Preparation notes are shown in the kitchen, but do not rely on every line note reappearing in dispatch or when an order is reopened. Those views do not reliably preserve every note. Agree a handover between the kitchen and counter for instructions such as separate packing.
Include that handover in your demo checklist: the kitchen reads the instruction, passes it to the person packing, and the packer checks the two meals against the order. Review the kitchen and dispatch workflow with the actual screens and printer setup you intend to use. Physical tickets depend on configured printing.
6. Match portions to recipes, not just names
A regular cod meal and a large haddock meal should not inherit the same ingredient assumptions merely because both contain fish and chips. Where inventory and recipes are enabled, check the linked fish, potato, batter and side quantities for each configuration. Do not assume every option automatically changes ingredient consumption.
Use the fish and chips portion-cost guide to work from fillet purchase counts and measured potato yield. Then review the recipe and stock units in POSMENTOR inventory. Keep food quantities, menu prices and staff packing instructions as separate checks.